
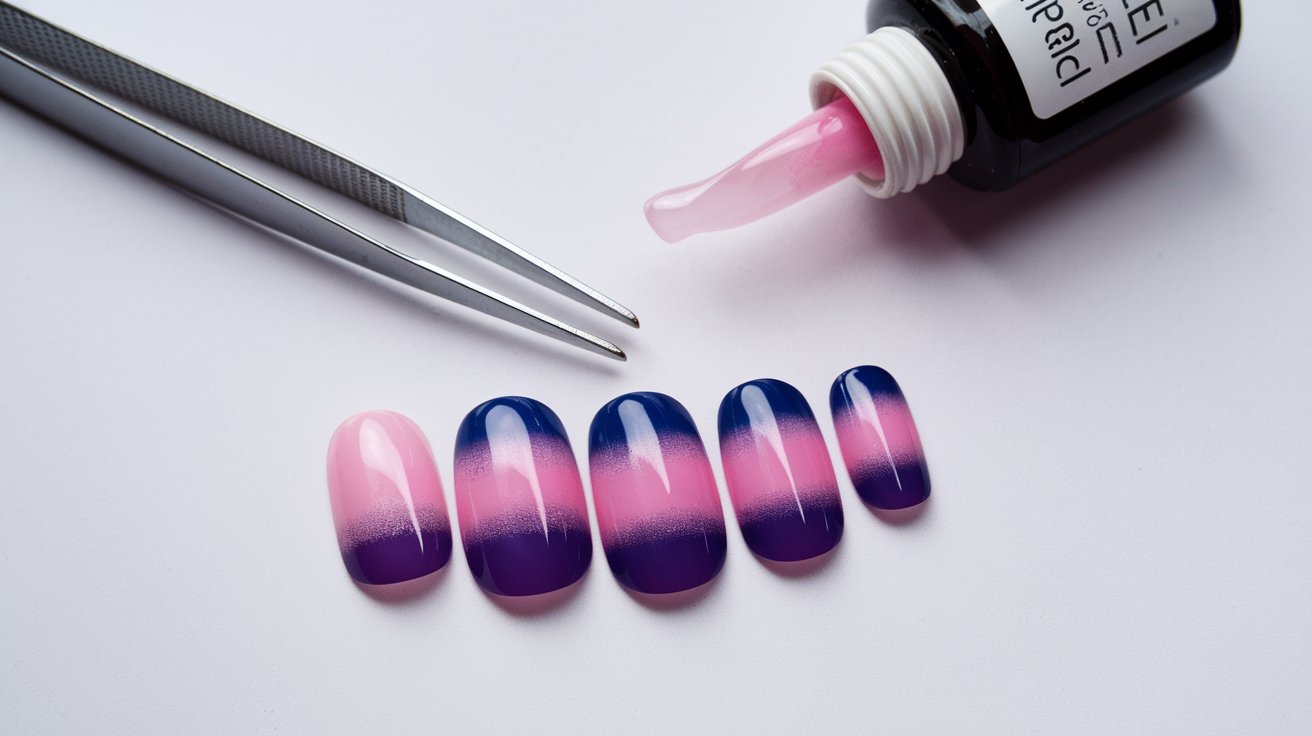
Learning how to do polygel nails has become increasingly popular among nail enthusiasts in 2025, offering a perfect balance between the strength of acrylic and flexibility of gel. This innovative nail enhancement technique combines the best of both worlds, creating durable, lightweight, and natural-looking nails that can last up to three weeks with proper application.
What is Polygel and Why Choose It for Your Nails
Polygel is a revolutionary nail enhancement product that bridges the gap between traditional acrylic and gel systems. Unlike conventional methods, polygel remains workable until cured under UV or LED light, giving you ample time to perfect the shape and application. This flexibility makes it an excellent choice for beginners who are just learning nail enhancement techniques.
The popularity of polygel in the United States has grown by 340% since 2022, according to beauty industry reports. Professional nail technicians and DIY enthusiasts appreciate its lightweight feel, reduced odor compared to acrylics, and the ability to create both natural-looking overlays and dramatic extensions. Polygel nails are particularly suitable for those with weak natural nails or anyone seeking a long-lasting manicure solution.
Essential Tools and Materials for Polygel Application
Before learning how to apply polygel, gathering the right tools is crucial for success. The basic polygel kit should include polygel tubes in your preferred shades, slip solution or 70% isopropyl alcohol, dual forms or nail tips, a polygel brush, nail files, buffer, cuticle pusher, and a UV or LED lamp with at least 36 watts power output.
Slip solution is the most critical component for polygel application, as it prevents the product from sticking to your brush and allows for smooth manipulation. Many beginners wonder which liquid to use with polygel – while some brands offer proprietary slip solutions, 70% isopropyl alcohol works effectively as an affordable alternative. Quality dual forms are essential for creating the perfect nail shape, while a good polygel brush with synthetic bristles ensures even application and precise sculpting.
How to Do Polygel Nails Step by Step
The step by step process for applying polygel begins with proper nail preparation. Start by pushing back cuticles, filing natural nails to your desired length, and buffing the nail surface to create slight texture for better adhesion. Clean nails thoroughly with alcohol or nail dehydrator to remove oils and debris that could interfere with polygel bonding.
Apply a thin layer of nail primer if working on natural nails, followed by a base coat if desired. Select the appropriate dual form size for each nail, ensuring a snug fit without gaps. Squeeze a small amount of polygel onto the dual form, then use your brush dipped in slip solution to spread and shape the product. The key is working in thin, even layers to prevent air bubbles and ensure proper curing.
Nail Preparation and Base Application
Proper nail preparation is fundamental when learning how to do polygel nails successfully. Begin by sanitizing your hands and workspace, then gently push back cuticles using a cuticle pusher. File natural nails to approximately 1-2mm in length, creating a clean foundation for the polygel application. Buff the nail surface lightly with a 180-grit file to remove shine and create microscopic grooves that enhance polygel adhesion.
Applying Polygel with Dual Forms
When using dual forms, select the correct size that covers the nail bed without touching the skin. Apply a small bead of polygel to the dual form, approximately the size of a rice grain for shorter nails or a small pea for longer extensions. Use your brush dipped in slip solution to spread the product evenly, working from the cuticle area toward the free edge. This technique ensures smooth application and prevents the formation of air pockets that could weaken the final result.
How to Apply Polygel on Natural Nails Without Extensions
Applying polygel on natural nails creates a protective overlay that strengthens weak nails while maintaining a natural appearance. This technique is perfect for those who prefer shorter nails or want to repair damaged natural nails. Begin with the same preparation steps, ensuring nails are clean, shaped, and lightly buffed for optimal adhesion.
For natural nail overlays, apply a thin layer of polygel directly to the prepared nail surface using a brush dipped in slip solution. Work the product evenly across the entire nail, paying special attention to the stress points near the sidewalls and free edge. This application method typically requires less product than extensions and creates a subtle, natural-looking enhancement that can last 2-3 weeks with proper care.
Using Polygel with Nail Tips for Extensions
Combining polygel with nail tips offers an alternative method for creating extensions, particularly useful when dual forms don’t fit properly or for specific nail shapes. Choose high-quality nail tips that match your nail bed width, then trim and shape them to your desired length before application. This hybrid approach provides additional strength and is often preferred by nail technicians for clients with challenging nail shapes.
Apply nail glue to attach the tips, then trim and file to the desired shape. Once the tips are secure, apply polygel over the entire nail surface, blending the seam between the natural nail and tip. This technique requires careful attention to creating a smooth transition, but results in extremely durable extensions that can withstand daily activities without lifting or breaking.
Choosing the Right Nail Tips
Selecting appropriate nail tips is crucial for successful polygel application. Choose tips that match your nail bed width precisely – they should cover the nail from sidewall to sidewall without overlapping onto the skin. Clear or natural-colored tips work best under polygel, as they won’t affect the final color appearance. Quality tips made from ABS plastic provide better adhesion and durability compared to cheaper alternatives.
Blending Tips with Polygel
Achieving a seamless blend between nail tips and polygel requires patience and technique. After securing the tips, use a coarse file to thin the seam area where the tip meets your natural nail. Apply polygel in thin layers, focusing on building up the natural nail area to match the tip thickness. This gradual layering approach ensures a smooth, professional-looking finish that appears completely natural.
Applying Polygel on Short Nails
Working with short nails presents unique challenges, but polygel application is entirely feasible with proper technique. Short nail beds require minimal product and careful application to avoid overwhelming the natural nail proportions. Focus on creating thin, even coverage that enhances the natural nail shape without adding excessive bulk or length.
For short nail applications, use approximately half the amount of polygel compared to extension work. Apply the product primarily to the nail bed area, leaving the cuticle zone clean to prevent lifting. This conservative approach ensures the enhancement looks natural while providing the strengthening benefits of polygel. Cure each layer thoroughly to prevent soft spots that could lead to premature wear or damage.
How to Apply Polygel Without Forms
Learning how to apply polygel without forms offers greater flexibility and is often preferred for overlay applications or repairs. This freehand technique requires more skill but allows for completely customized nail shapes and lengths. Begin by applying a small amount of polygel directly to the prepared nail, then use your brush and slip solution to sculpt the desired shape.
The key to successful formless application is working with the right product consistency and maintaining proper brush technique. Keep your brush consistently moist with slip solution to prevent sticking, and work in thin layers to maintain control. This method is particularly effective for creating natural-looking overlays or making minor repairs to existing polygel nails. Practice on nail wheels or practice hands before attempting this technique on yourself or clients.
Common Mistakes When Applying Polygel and How to Avoid Them
Understanding common mistakes when applying polygel can save time, product, and frustration during your nail enhancement journey. The most frequent error is using too much product at once, which leads to thick, unnatural-looking nails that are difficult to file and shape. Always start with less polygel than you think you need – you can always add more in subsequent layers.
Another prevalent mistake involves inadequate nail preparation, which results in poor adhesion and premature lifting. Always ensure nails are completely clean, properly shaped, and lightly buffed before polygel application. Using contaminated slip solution or tools can also compromise results, so maintain clean equipment throughout the process. Rushing the curing process or using insufficient lamp power leads to soft, flexible nails that won’t maintain their shape, so always follow manufacturer guidelines for curing times and lamp specifications.
Product Application Errors
Applying too much polygel in a single layer is the most common beginner mistake, resulting in uneven surfaces and trapped air bubbles. The ideal application involves thin, manageable layers that can be shaped precisely before curing. Additionally, failing to maintain proper brush moisture with slip solution causes the product to stick and drag, creating an uneven surface that requires extensive filing to correct.
Curing and Timing Issues
Insufficient curing time represents a critical error that affects nail durability and appearance. Each layer of polygel requires complete polymerization under UV or LED light – typically 60 seconds under LED or 2 minutes under UV light. Undercured polygel remains flexible and may develop dents or scratches easily, while overcuring can lead to brittleness and potential cracking during normal use.
How to Remove Polygel Nails Safely
Learning how to remove polygel nails properly is essential for maintaining nail health between applications. Unlike some gel systems, polygel typically requires filing for removal rather than soaking in acetone. Begin by filing away the bulk of the polygel using a coarse nail file, being careful not to damage the natural nail underneath.
For complete removal, use a nail drill with appropriate bits if you’re experienced, or continue hand filing until only a thin layer remains. Soak any remaining product in 100% acetone for 10-15 minutes to soften stubborn areas. Always finish with cuticle oil and moisturizer to restore hydration to the natural nails and surrounding skin. Professional removal every 2-3 applications helps prevent over-filing and maintains optimal nail health for future polygel applications.
Related video about how to do polygel nails
This video complements the article information with a practical visual demonstration.
Frequently Asked Questions
How to polygel nails step by step for complete beginners?
Begin with nail preparation by pushing cuticles, filing natural nails, and buffing the surface. Apply polygel to dual forms using a brush with slip solution, shape carefully, then cure under UV/LED light for 60 seconds. File and shape the cured nails, apply base and color coats as desired, then finish with top coat for a professional result.
Which liquid do you use for polygel application?
The best liquid for polygel is slip solution, which is specifically formulated to prevent sticking during application. Alternatively, 70% isopropyl alcohol works effectively as a more affordable option. Avoid using water or other liquids, as they won’t provide the proper consistency needed for smooth polygel manipulation and shaping.
What are the most common mistakes when applying polygel?
The most frequent mistakes include using too much product at once, inadequate nail preparation, insufficient curing time, and contaminated tools or slip solution. Beginners often rush the process or skip proper nail prep, leading to lifting and poor adhesion. Always work in thin layers and ensure complete curing between steps.
Is polygel suitable for beginners compared to other nail systems?
Yes, polygel is highly suitable for beginners because it stays workable until cured under light, allowing time to perfect the shape and application. Unlike acrylics that set quickly, polygel offers forgiveness during the learning process. The reduced odor and easier removal also make it beginner-friendly compared to traditional acrylic systems.
How long do polygel nails typically last?
Properly applied polygel nails last 2-3 weeks on average, depending on nail growth rate and daily activities. With good nail preparation and application technique, some people achieve 4 weeks of wear. Regular cuticle oil use and avoiding harsh chemicals help extend the lifespan of polygel enhancements.
Can you apply polygel over natural short nails without extensions?
Absolutely! Polygel works excellently as an overlay on natural short nails, providing strength and protection without adding length. Apply a thin layer directly to prepared natural nails, cure properly, and finish as desired. This technique is perfect for strengthening weak nails while maintaining a natural appearance.
| Application Method | Best For | Key Benefit |
|---|---|---|
| Dual Forms | Extensions and precise shaping | Professional results with minimal filing |
| Natural Nail Overlay | Strengthening weak nails | Natural appearance with added durability |
| Tips with Polygel | Challenging nail shapes | Maximum strength and customization |
| Formless Application | Repairs and touch-ups | Ultimate flexibility and control |

