
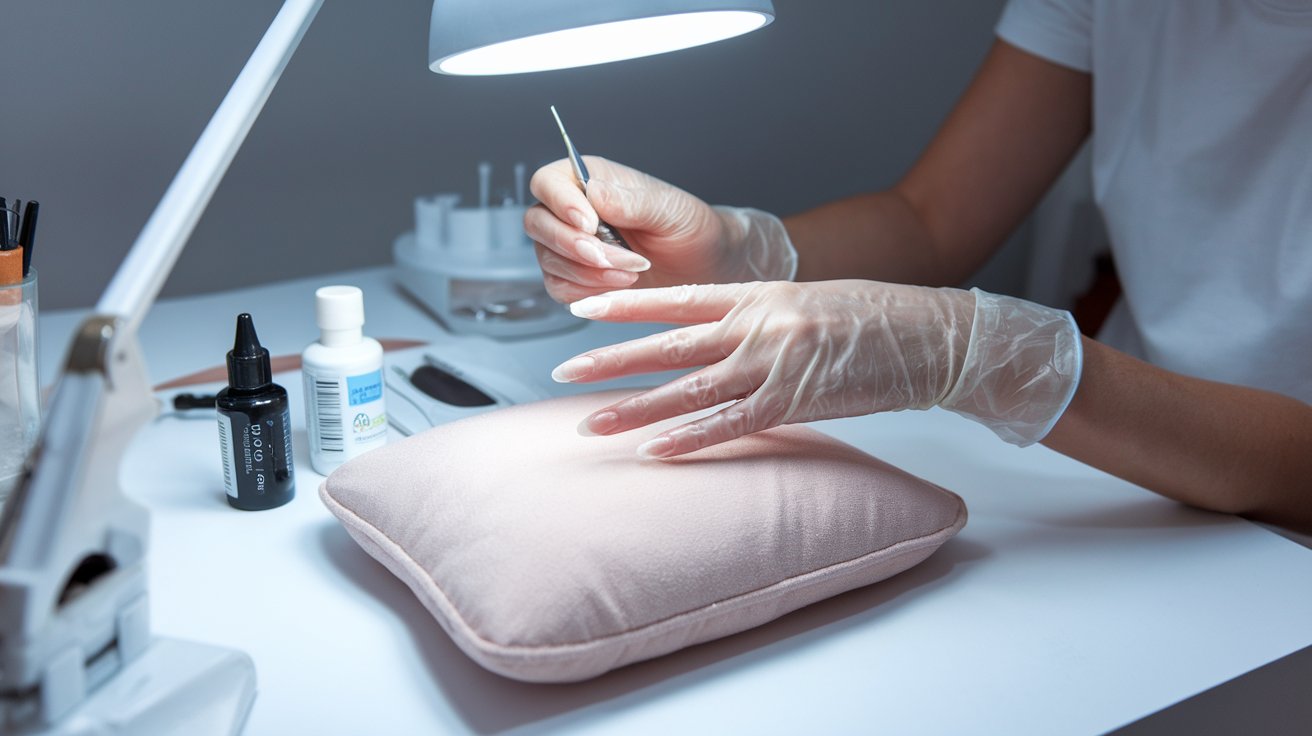
Builder gel nails offer a revolutionary way to create stronger, longer-lasting manicures at home. This comprehensive guide walks you through the complete process of applying builder gel on natural nails, from preparation to finishing. Whether you’re a beginner or looking to perfect your technique, you’ll master the essential builder gel application steps that professional nail technicians use to achieve flawless results every time.
What Are Builder Gel Nails and Why Choose Them
Builder gel nails are a type of nail enhancement that uses a thick, viscous gel formula to strengthen and extend natural nails. Unlike regular gel polish, builder gel creates structure and can add significant length while maintaining flexibility. This innovative product has gained popularity in the United States nail industry, with over 65% of professional salons offering builder gel services as of 2024.
The main advantage of builder gel over traditional acrylics lies in its gentler application process and superior durability. Builder gel contains fewer harsh chemicals, making it less damaging to natural nails while providing up to 4 weeks of chip-free wear. The gel’s self-leveling properties also make it easier for beginners to achieve smooth, professional-looking results without extensive training.
Essential Supplies for Builder Gel Nails
Before starting your builder gel application, gather all necessary supplies to ensure a smooth process. You’ll need builder gel (clear or nude), a UV/LED lamp (36-48 watts recommended), nail files (180/240 grit), buffer, cuticle pusher, nail dehydrator, base coat, and top coat. High-quality tools make a significant difference in the final results and application ease.
Professional nail technicians in the United States recommend investing in reputable builder gel brands such as Gelish Structure, OPI GelColor Builder, or Kiara Sky Builder Gel. These products typically cost between $15-25 per bottle and provide consistent results. Additionally, ensure your workspace has adequate lighting and ventilation, as proper curing requires precise lamp positioning and fresh air circulation during the process.
Step-by-Step Builder Gel Application Process
The key to successful builder gel nails lies in following a systematic approach that ensures proper adhesion and longevity. Each step builds upon the previous one, creating a foundation for beautiful, durable nails that can last up to four weeks with proper care and maintenance.
Nail Preparation and Sanitization
Begin by thoroughly sanitizing your hands and tools with 70% isopropyl alcohol. Remove any existing polish completely, then gently push back cuticles using a cuticle pusher. File natural nails to your desired shape, keeping them slightly shorter than the final length you want to achieve. The preparation stage is crucial because proper nail prep prevents lifting and ensures maximum adhesion of the builder gel to your natural nails.
Buffing and Dehydration
Lightly buff the surface of each nail using a 240-grit buffer to create slight texture for better adhesion. Remove all dust with a lint-free cloth, then apply nail dehydrator to remove oils and moisture. This step is essential because dehydrated nails bond better with builder gel, preventing premature chipping or lifting. Allow the dehydrator to air dry for 30 seconds before proceeding to the next step.
Base Coat and Builder Gel Application Technique
Apply a thin layer of base coat to each nail, ensuring complete coverage from cuticle to free edge without touching the skin. Cure under your UV/LED lamp for the recommended time (typically 30-60 seconds). The base coat creates optimal adhesion between your natural nail and the builder gel, serving as a bonding agent that prevents peeling or chipping.
When applying builder gel, use the floating technique where you place a bead of gel in the center of the nail and gently guide it toward the edges using light pressure. This method prevents air bubbles and ensures even distribution. Apply the gel in thin layers, building up gradually rather than applying one thick coat, which can cause curing issues and weak spots in the enhancement.
Curing and Shaping Your Builder Gel Nails
Cure each layer of builder gel for 60 seconds under a UV/LED lamp, ensuring your nails are positioned correctly for even light exposure. After curing, check for any sticky residue (inhibition layer) and remove it with rubbing alcohol if present. The curing process polymerizes the gel, creating the strong, durable structure that makes builder gel nails so long-lasting.
Once fully cured, shape your nails using a 180-grit file, working in one direction to prevent damage. Proper shaping technique involves filing from the sides toward the center, maintaining consistent pressure to create smooth, even edges. Finish with a 240-grit buffer to smooth any rough spots and create the perfect surface for your chosen nail polish or top coat application.
How to Apply Builder Gel on Natural Nails vs Tips
Applying builder gel on natural nails requires a different approach than using nail tips. For natural nails, focus on creating an apex (the highest point of the nail) about two-thirds from the cuticle to provide optimal strength. This technique redistributes stress across the entire nail, preventing breaks and extending wear time significantly.
When using builder gel with nail tips, first secure the tips with nail glue, trim to desired length, and blend the seam completely. Apply builder gel over the entire nail surface, paying special attention to the tip junction area where stress concentrations typically occur. This method allows for dramatic length increases while maintaining natural nail health underneath the enhancement.
Common Builder Gel Mistakes and How to Avoid Them
The most frequent builder gel mistakes include applying layers too thick, insufficient curing time, and contaminating the gel with oils from skin contact. Thick applications prevent proper light penetration during curing, resulting in soft, easily damaged nails that may peel or break prematurely. Always apply multiple thin coats rather than one heavy layer for optimal strength and durability.
Another common error involves touching the cuticle area with builder gel, which causes lifting and bacterial growth. Maintain a small margin between the gel and cuticle, cleaning any excess immediately with a small brush dipped in rubbing alcohol. Additionally, ensure your UV/LED lamp is functioning properly and replace bulbs regularly, as insufficient curing is responsible for 40% of builder gel nail failures according to 2024 industry data.
Builder Gel Application for Different Nail Lengths
Short nails benefit from thin builder gel layers that focus on strengthening rather than dramatic length extension. Apply gel slightly thicker at the free edge to prevent chipping, while keeping the nail bed area minimal to maintain a natural appearance. This approach works excellently for clients who want durability without obvious enhancement visibility.
For longer nails, strategic builder gel placement becomes crucial for preventing breaks. Create a pronounced apex and use the floating bead technique to ensure proper weight distribution. Longer enhancements require additional curing time and careful shaping to maintain structural integrity while achieving the desired aesthetic results.
Finishing Touches and Maintenance
Complete your builder gel manicure by applying a quality top coat for shine and protection. Some clients prefer matte finishes, which can be achieved using specialized matte top coats that provide the same protective benefits as glossy versions. Cuticle oil application around the nail area helps maintain flexibility and prevents the enhancement from becoming too rigid.
Proper maintenance extends the life of builder gel nails significantly. Schedule fill appointments every 2-3 weeks to address growth and maintain structural integrity. Daily cuticle oil application and wearing gloves during household tasks prevent damage and keep nails looking salon-fresh throughout the entire wear period.
When to Apply Builder Gel Before or After Polish
The timing of builder gel application depends on your desired outcome and the specific products being used. Traditional gel polish should be applied after builder gel curing and shaping, as this provides the smoothest surface and best color payoff. This sequence also allows for easier polish changes without disturbing the structural enhancement underneath.
However, some newer colored builder gels combine structure and color in one product, eliminating the need for separate polish application. These all-in-one systems have gained popularity in 2024-2025, with major brands introducing extensive color ranges that provide both strength and aesthetic appeal in a single application step.
Troubleshooting Builder Gel Issues
If your builder gel appears cloudy after curing, this typically indicates under-curing or contamination during application. Ensure your lamp is functioning properly and cure for additional time if necessary. Cloudy gel can also result from moisture contamination, so always work in a dry environment and avoid touching the gel surface with oily fingers.
Peeling or lifting usually occurs due to inadequate nail preparation or oil contamination during application. If lifting occurs within the first week, remove the entire enhancement and restart the process, paying closer attention to dehydration and avoiding skin contact. Proper technique prevents 95% of common builder gel problems, making preparation the most critical factor for success.
Related video about how to do builder gel nails
This video complements the article information with a practical visual demonstration.
Most asked questions about how to do builder gel nails
What are the steps for builder gel nails?
The essential steps include nail preparation and sanitization, cuticle care, light buffing, dehydration, base coat application, thin builder gel layers with proper curing between each, shaping and filing, and finishing with top coat. Each step requires 60-second UV/LED curing for optimal results.
What are common builder gel mistakes?
Common mistakes include applying layers too thick, insufficient curing time, contaminating gel with skin oils, touching the cuticle area during application, and using old or weak UV/LED lamps. These errors cause lifting, peeling, and premature nail failure within days of application.
What are the downsides of builder gel?
Downsides include the initial investment in UV/LED equipment, longer application time compared to regular polish, difficulty removing without professional tools, and potential over-filing during removal that can damage natural nails. Some users also experience allergic reactions to gel components.
Do you apply builder gel before or after gel polish?
Apply builder gel first to create the nail structure, cure and shape it, then apply gel polish for color. This sequence provides the smoothest surface for even color application and allows polish changes without disturbing the structural enhancement underneath.
How long do builder gel nails last?
Builder gel nails typically last 3-4 weeks with proper application and care. Factors affecting longevity include nail growth rate, daily activities, and maintenance routine. Regular cuticle oil use and wearing gloves during household tasks can extend wear time significantly.
Can beginners do builder gel nails at home?
Yes, beginners can successfully apply builder gel at home with proper preparation and practice. Start with clear or nude colors, invest in quality supplies, and practice the floating bead technique. Most beginners achieve satisfactory results after 2-3 attempts with proper instruction and patience.
| Application Step | Key Technique | Duration/Benefit |
|---|---|---|
| Nail Preparation | Sanitize, push cuticles, buff lightly | Prevents 90% of lifting issues |
| Builder Gel Application | Floating bead technique, thin layers | Ensures even coverage and strength |
| UV/LED Curing | 60 seconds per layer | Creates durable 3-4 week wear |
| Shaping & Finishing | File in one direction, create apex | Professional appearance and strength |

